When it comes to portable espresso machines, Wacaco is by far our favourite brand, and they have a number of really great solutions at varying price points depending on your budget and your level of interest in making the coffee!
Over the next three weeks, we will be featuring 3 different portable espresso machines from Wacaco - the Picopresso, the PIxapresso and the Minipresso NS2 all with their own unique features.
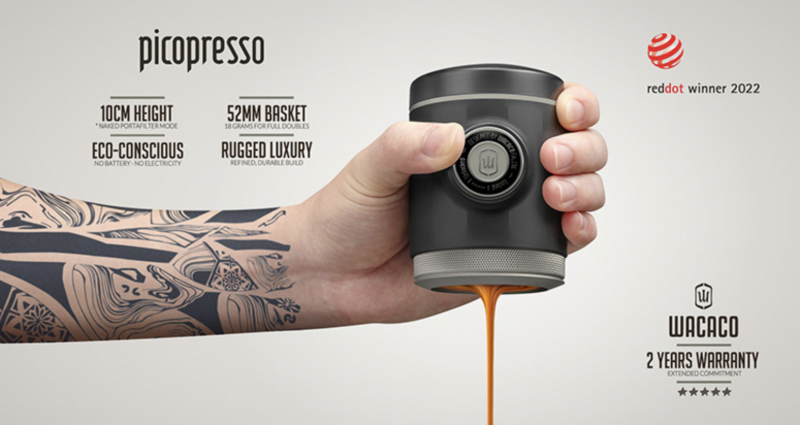
We kick off with the Picopresso. This one is for the coffee geeks who want full control over the process. It is marketed as "The Specialty Coffee Portable Espresso Machine" and it sells for around R2900 incl vat in South Africa.
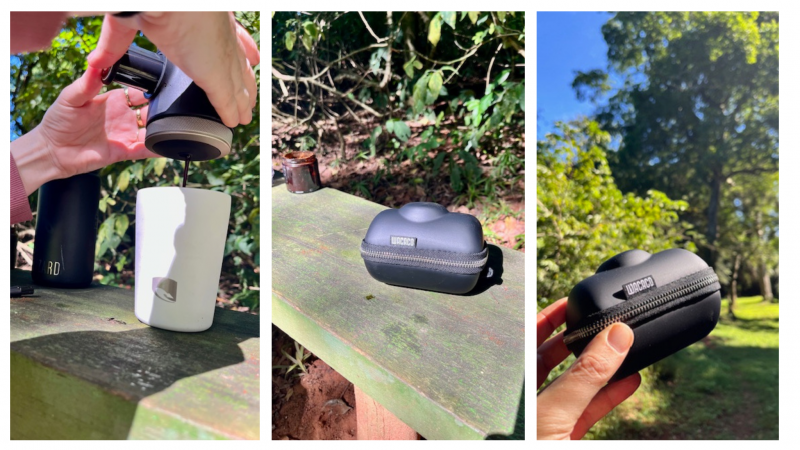
The most impressive thing about this product, other than the fact that it makes an incredible espresso, is that it fits all of the many, many bits and pieces that serious coffee makers want into this handy pouch. It takes a few goes to get used to where all the parts are stored and how they all integrate together, but once you're familiar with it, you realise how incredibly well-designed it is!
We took the picopresso to the bush for a test drive, armed with some delicious specialty coffee beans, a handgrinder and a flask of hot water .... and put it through its paces.
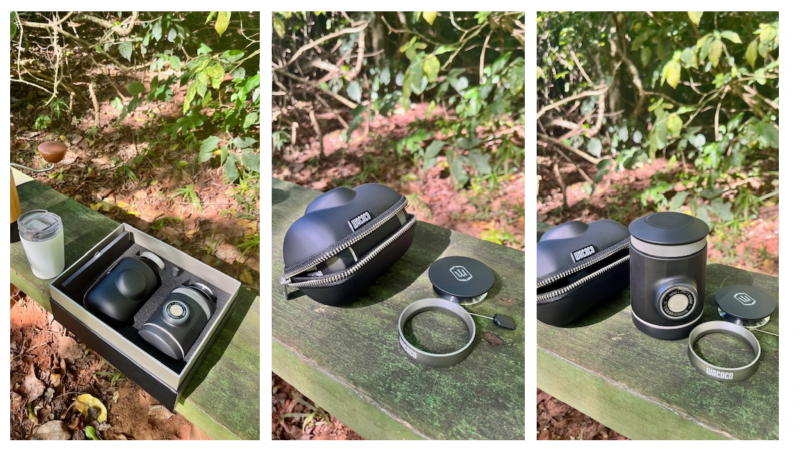
Step 1: Unboxing - this is a pretty cool moment, as the picopresso is beautifully packaged and as you unbox it more and more and more things keep coming out the box!
Pro tip: USE THE MANUAL!! Even if you're one of those people who like to figure it out yourself, there are a LOT of clever little design tricks hidden in the design.
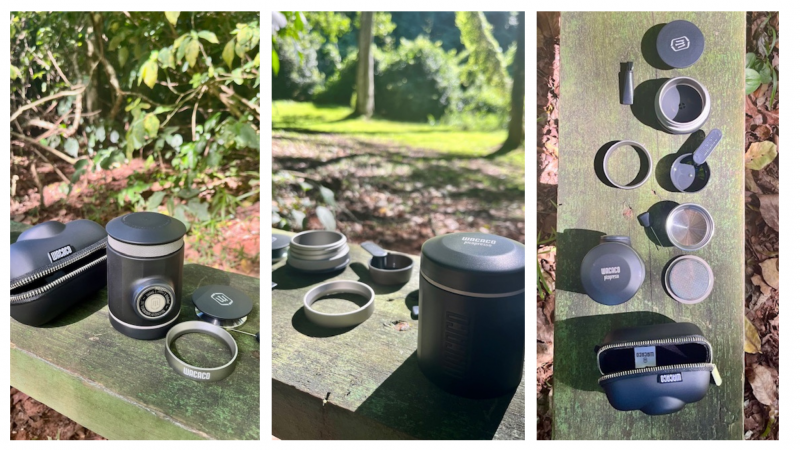
Step 2: Take everything out of the box and lay it all out, BUT (just like going camping and setting up a tent or a caravan) make a mental note of where they came from so you can fit it back together again.
Pro Tip: Take careful note of the coffee scoop, the distribution tool and the brush. The coffee scoop has a folding handle which allows it to be stored again after use and the coffee brush and distribution tool fit into another part for storage. They are small and can be overlooked when unpacking.
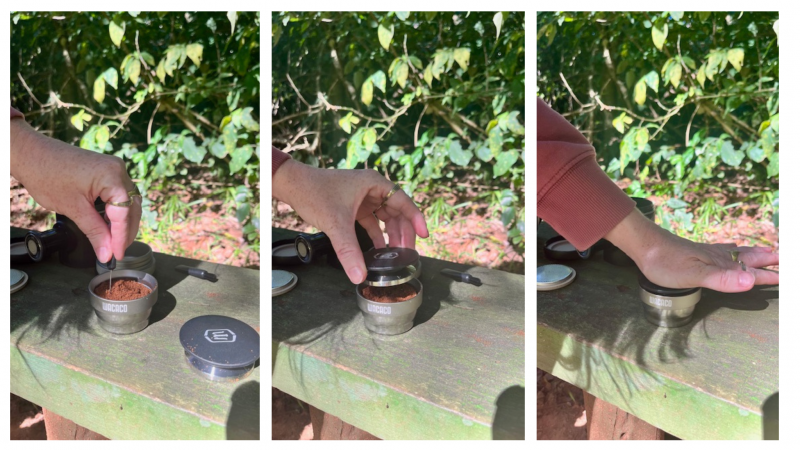
Step 3: Prepare your puck by grinding your coffee into the 18g basket (a notable step-up from the single shot minipresso), distributing it with the tool and tamping with the beautiful and robust tamper.
Pro tip: You must use the collar on the basket! This does two things: Firstly it helps you get all your fine grounds into the basket without spilling and secondly it gives you the correct level to tamp to, so you don't over-tamp! Very important considering you're going to be the person pumping and building the pressure manually!
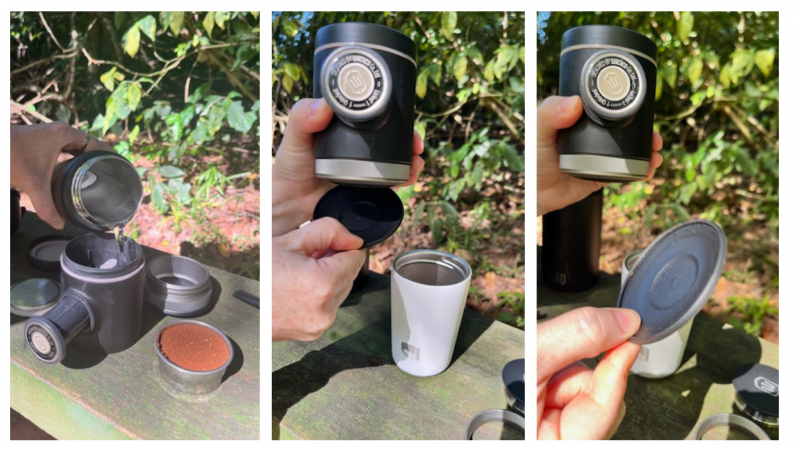
Step 4: Pout a little bit of hot water into the water reservoir to heat, clean and purge any impurities. Pump out the water and re-fill up to the line.
Pro tip: You need to take the bottom cover off the bottom of the unit before you do this, else you will make a mess and likely burn yourself! Mel did this, she was not impressed, but she'll never do it again.
Step 5: Screw in your perfectly prepped coffee basket to the bottom of the picopresso, crew in your water reservoir to the top and pump away!
Pro Tip: You can actually do some pretty effective pre-infusion with this unit. Just pump 4 our five times until you hear the water reach the puck and then pause for a few seconds while the water saturates it, and then continue to pump until you have a beautiful and tasty double espresso in your travel mug!